


Review of the iKamper Rooftop Tent
Table of Contents
Introduction – Review of iKamper Rooftop Tent
First, I AM NOT an iKamper affiliate. Whether you buy it or not is entirely up to you. Click the links in the page…or don’t – unfortunately, I won’t receive any money either way. 🙂
I love my iKamper Rooftop Tent So what was I to do? Well write an iKamper Rooftop Tent Review of course!
As a frequent camper and overlander, I’m always looking for ways to make my adventures better. We all want to spend more time exploring the outdoors and less time setting up camp. In that regard, a rooftop tent seems like a logical addition to any nomadic lifestyle.
I’ve tried various rooftop tent set-ups over the years. Nothing seemed to offer that PERFECT balance of convenience and comfort. That is, until I got the iKamper.
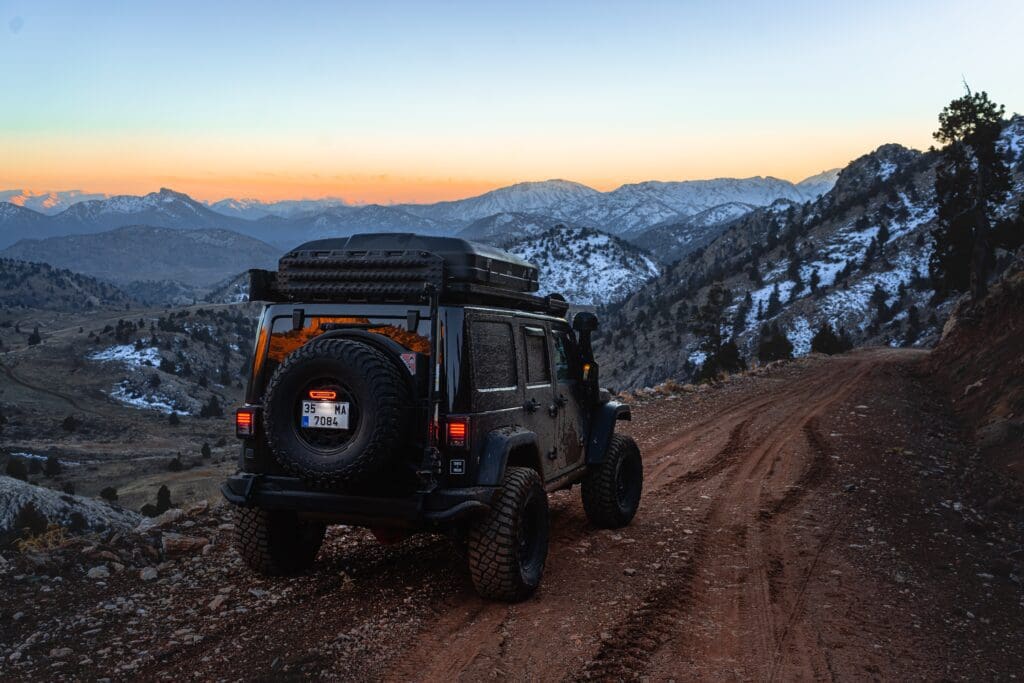
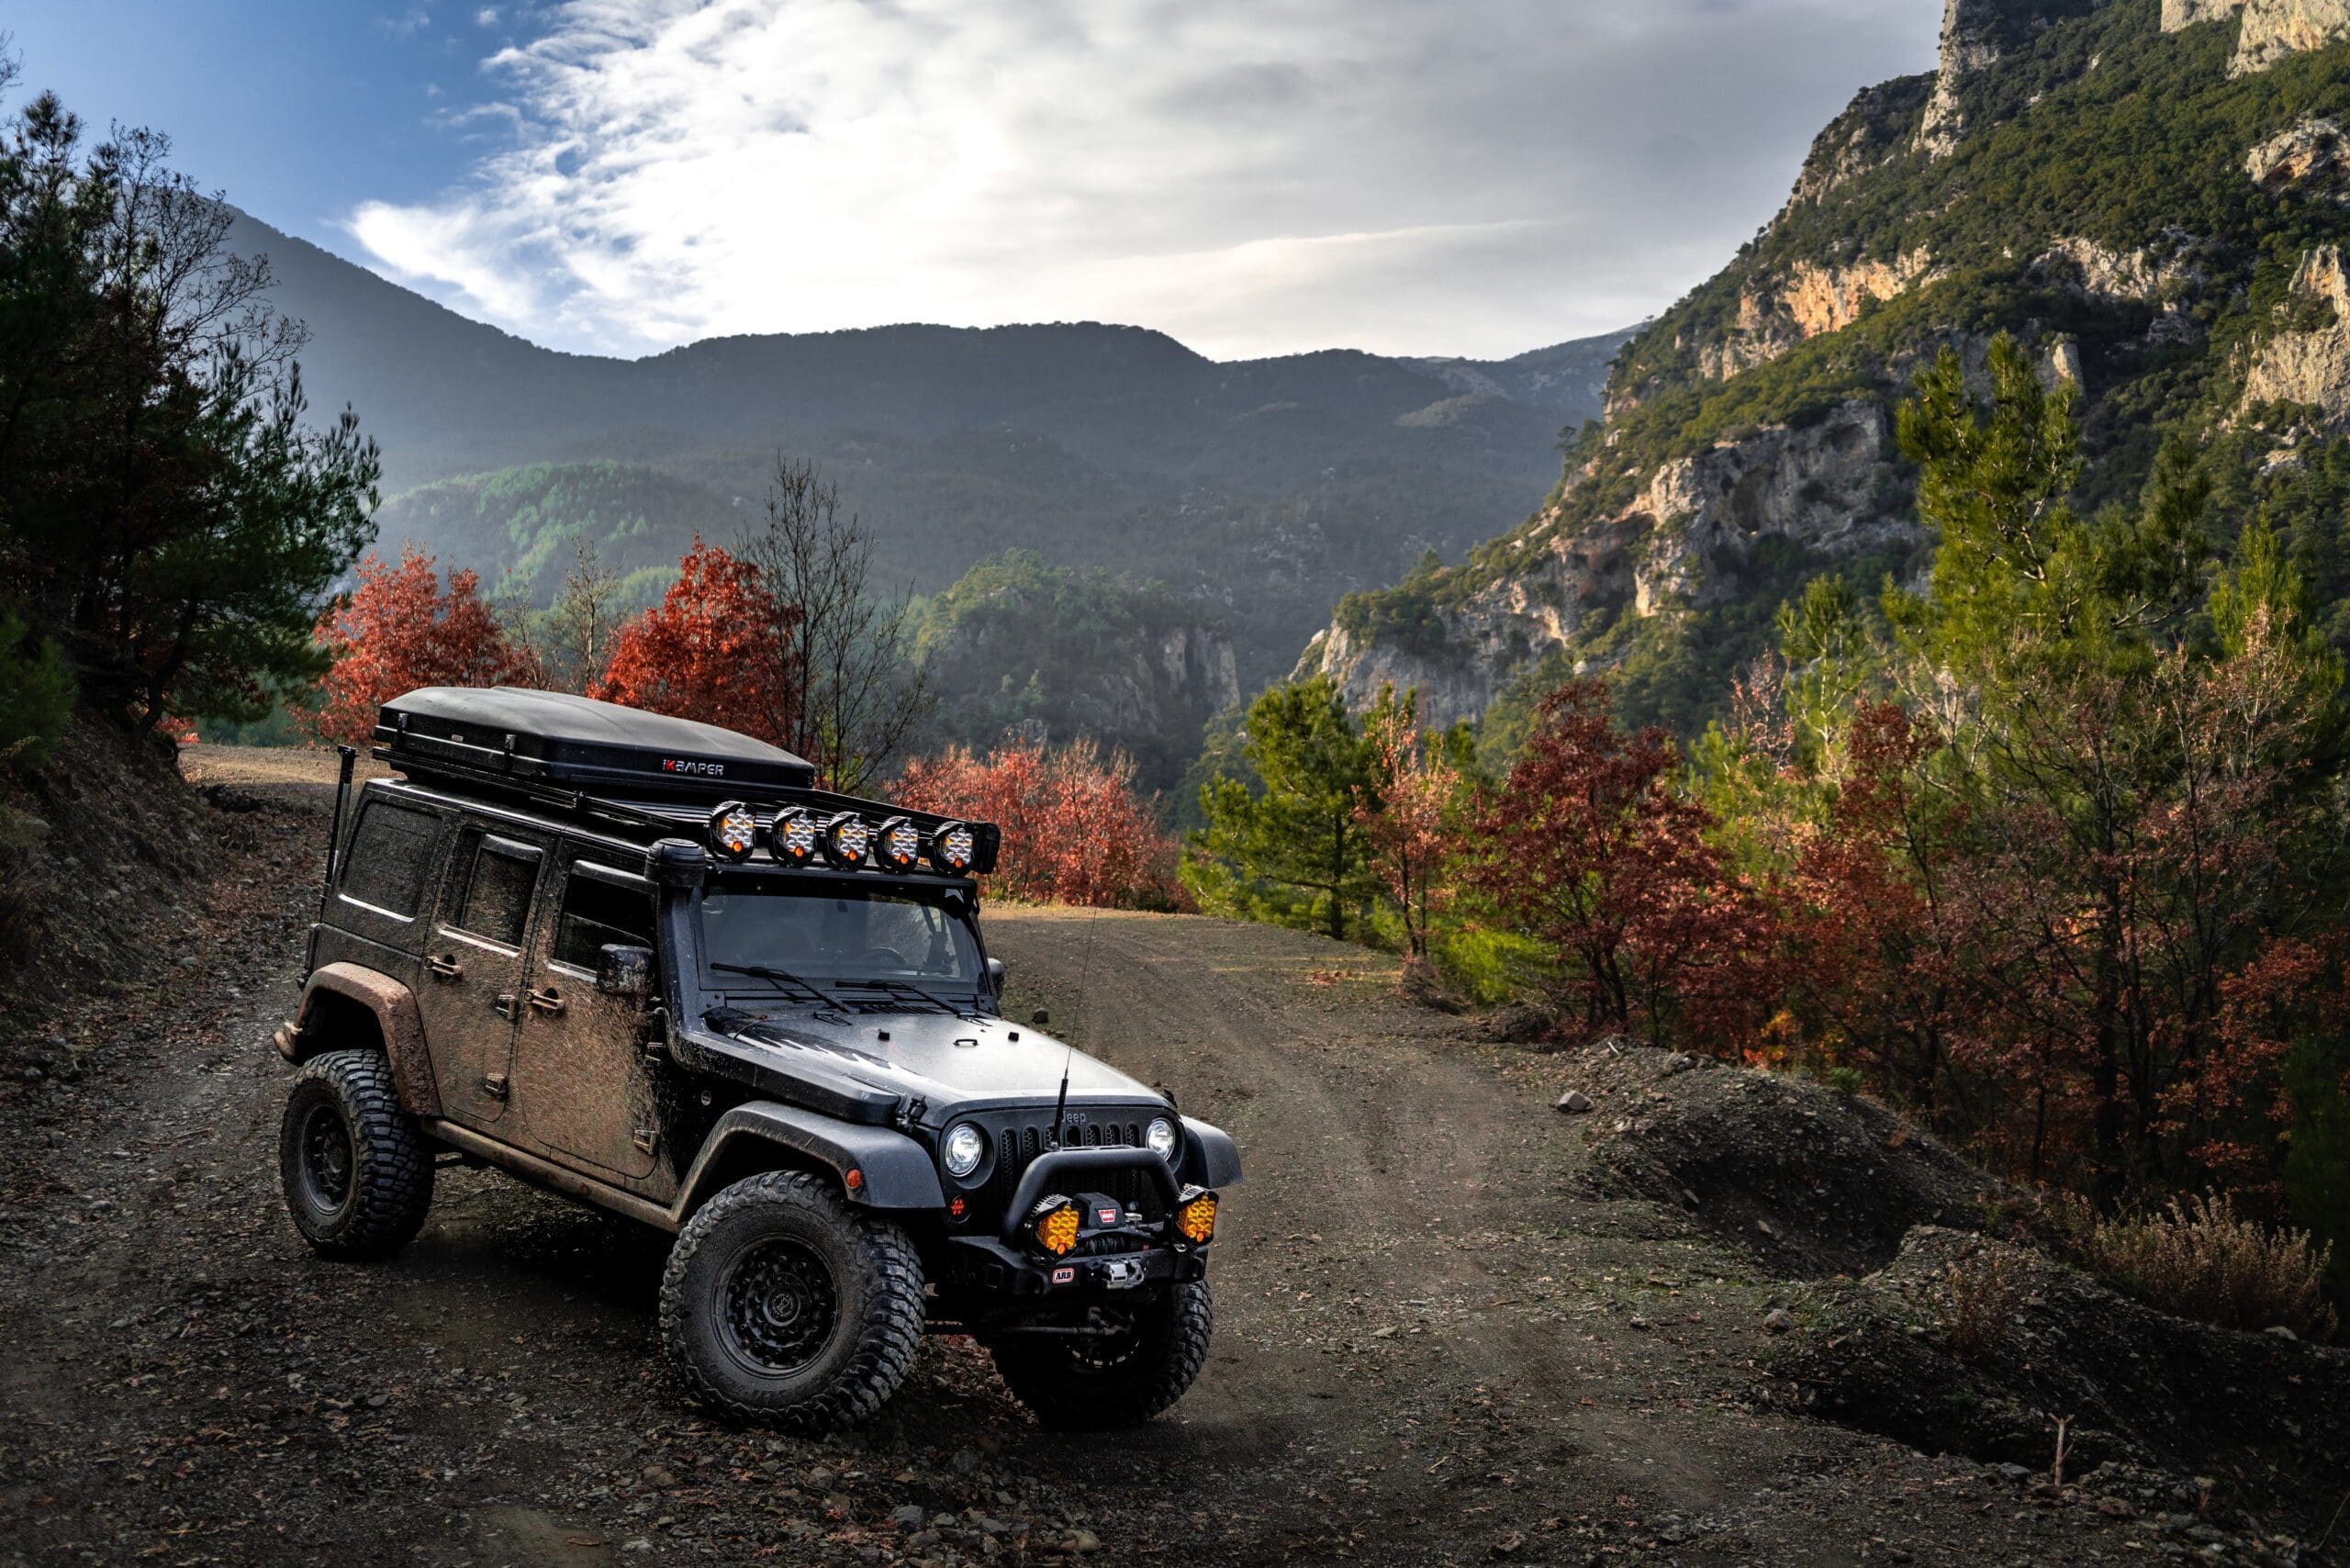
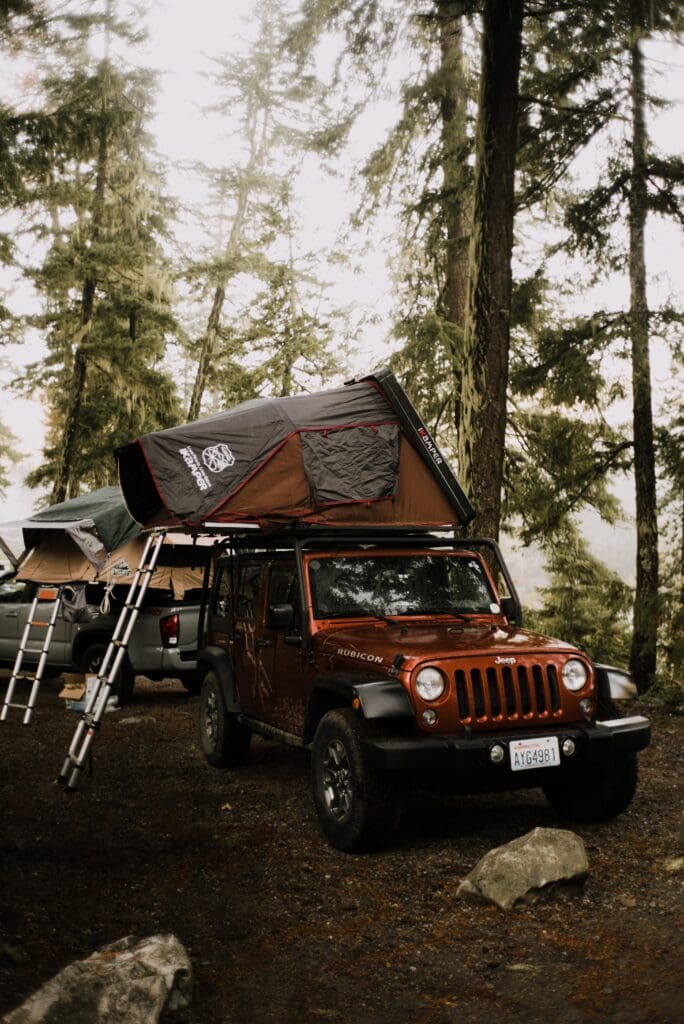
The iKamper is a hardshell tent that you can place on both larger vehicles, and/or smaller cars. In 2018, iKamper won the prestigious Red Dot Design Award from Germany.
I was immediately drawn to the iKamper due to its unique design features. The exterior comes in two colors:
1. Shiny black (that scratches)
2. Rocky black (which is scratch resistant but more expensive).
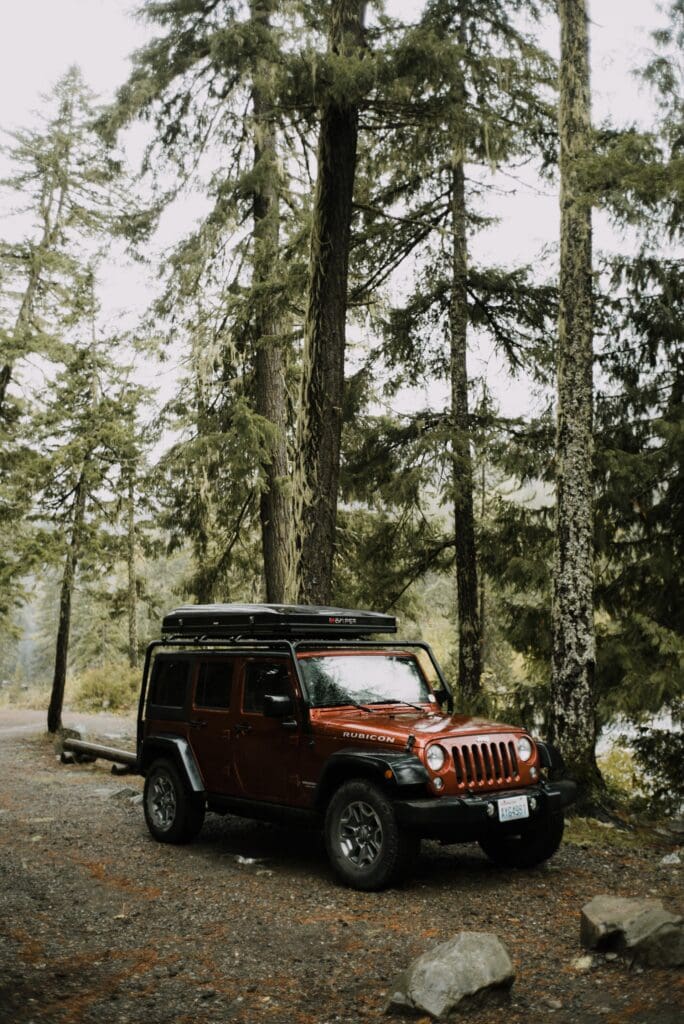
I was feeling bougie and went with the rocky black iKamper mini 2.0. For those who don’t know, the iKamper Mini is a similar design to the iKamper Skycamp 3.0 with a couple differences. The mini sleeps two people, the regular iKamper sleeps four people.
I’m a year-round camper. I’ve slept in the iKamper in all sorts of weather conditions. From frigid winter nights up through ultra-warm summer nights – I’ve seen it all. Sometimes, the wet or snow-covered ground doesn’t make for a good night’s sleep. That is what makes sleeping in a rooftop tent great. You’re literally above it all.
For solo travelers, the mini in particular is very easy to set-up and take down by yourself.
I also did not want my iKamper to fall off the roof while driving. Fortunately, iKamper provides mounting brackets. They fit onto any roof rack, no matter what car you have.
History of iKamper:
The iKamper was developed in South Korea. It was the brainchild of Soon Park. He wanted to design the best overall rooftop tent with the space of a softshell. It also needed the convenience of a hard shell.
He started a Kickstarter campaign to try and raise $100,000 USD…he raised $2.3 million USD. Thus, began iKamper’s entry into the rooftop tent market – officially entering the RTT Scene in 2014.

Installation – iKamper Review:
Over the course of about 45 minutes, a friend and I were able to attach the iKamper to the top of my wrangler. Of course, the iKamper needs a separate rack system.
After some research I went with Exposed Racks. I liked that the racks hook into my gutter system. They didn’t require drilling which was also great. And they use disbursement techniques to avoid cracking my rooftop…which would suck…
Given that I’ve been using the racks for two years and about 15,000 miles, I can honestly say they work great. Their customer service is also good. They worked with me to learn the exact Jeep I have and which system I needed.
The iKamper mini holds two full grown adults, some gear, and of course, the puppy dog. Exposed Racks will help you no matter the car, from a Toyota Tacoma to Mini Cooper or Subaru Outback.
Now that I’ve installed it once, installation on and off is easy. The iKamper requires at least two adults for the mini. I’d add another adult if you have the full size iKamper.
While I rarely take the iKamper off of my Jeep because I am a 4-season camper, it’s very easy to take off and on. Some owners have really cool garage set-ups that hoist the iKamper off the top of their car. They only need one person for that.
If you want it installed for you, there are several options. You can pick up your iKamper Rooftop Tent at their facility in Kent, Washington and they will help you.
Or, in Colorado, people often use Lee Hoffman at Altitude Industries. Altitude Industries is an authorized seller for iKamper and they do good work.
Again, I had it shipped to my house and did it myself. It was a very simple setup and iKamper has a YouTube video that will walk you through the whole thing. No problem.
Drivability of the iKamper Rooftop Tent:
My Jeep Wrangler is not built for speed. Jeeps are a force to be reckoned with on mountain roads, but the American Highway system is not where they shine. The iKamper Rooftop Tent does not help this situation. If there was a drawback to any hard shell tent, including the iKamper, it would be this.
When my Jeep hits highway speeds 75mph the iKamper has a high-pitched whistling. I resolve this problem by slowing down slightly, but it’s still a bit annoying at times.
For an additional $149 USD, you can buy a wind deflector to improve the aerodynamic nature of the tent. It also will increase gas mileage, and decrease the high-pitched whistling. When it comes back in stock (it is out of stock right now) I’ll probably do this and let you know how it goes.
While I have a Jeep, plenty of people put the iKamper on anything from a Toyota Highlander to a Mini-Cooper. Unlike larger tents, the compact design of the iKamper works on any vehicle. One reason is because the telescoping ladder is adjustable to any height.

Weight of the iKamper
The iKamper Mini weighs 125lbs (56.6 kg), the full size weights 163.1lbs (74kg).
Remember, every car has different vehicle load restrictions the rack system can support. This changes based on if the vehicle is moving or not (weight limit goes up if the vehicle is still). You need to know your rooftop load limit.
The lightweight design of the iKamper Rooftop Tent is no problem if your rack system is set up well.
The rack needs to be rated for the weight of the iKamper and the people in it. If you’re not sure what your vehicle rack rating is, you can find it on the manufacturer’s website.
Some racks require you to drill into the body of the car, others are designed to attach in other ways. You may need aftermarket racks, rather than any stock racks, that came with your car.

Interior of the iKamper Rooftop Tent:
The interior is one of the places where iKamper shines. The spacious design interior has several features which make it a winner. It somehow feels bigger on the inside (like the TARDIS! – Dr. Who anyone?).
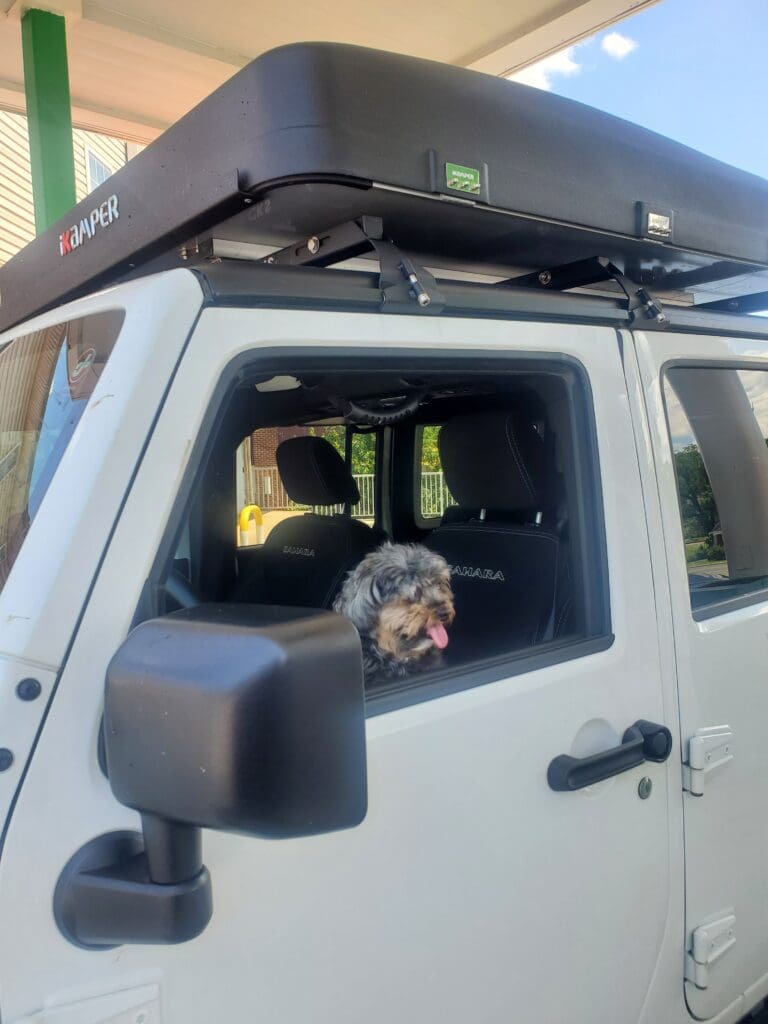
With plenty of room for our small family (my dog, my fiancé and myself) the iKamper Skycamp mini is more than enough for us. If our family grows, we’ll likely retire from two-person tents and look at different models.
Maybe the X model, or other Skycamp models like the Skycamp 3.0. The king-size mattress pads in these versions would become a necessity at that point.
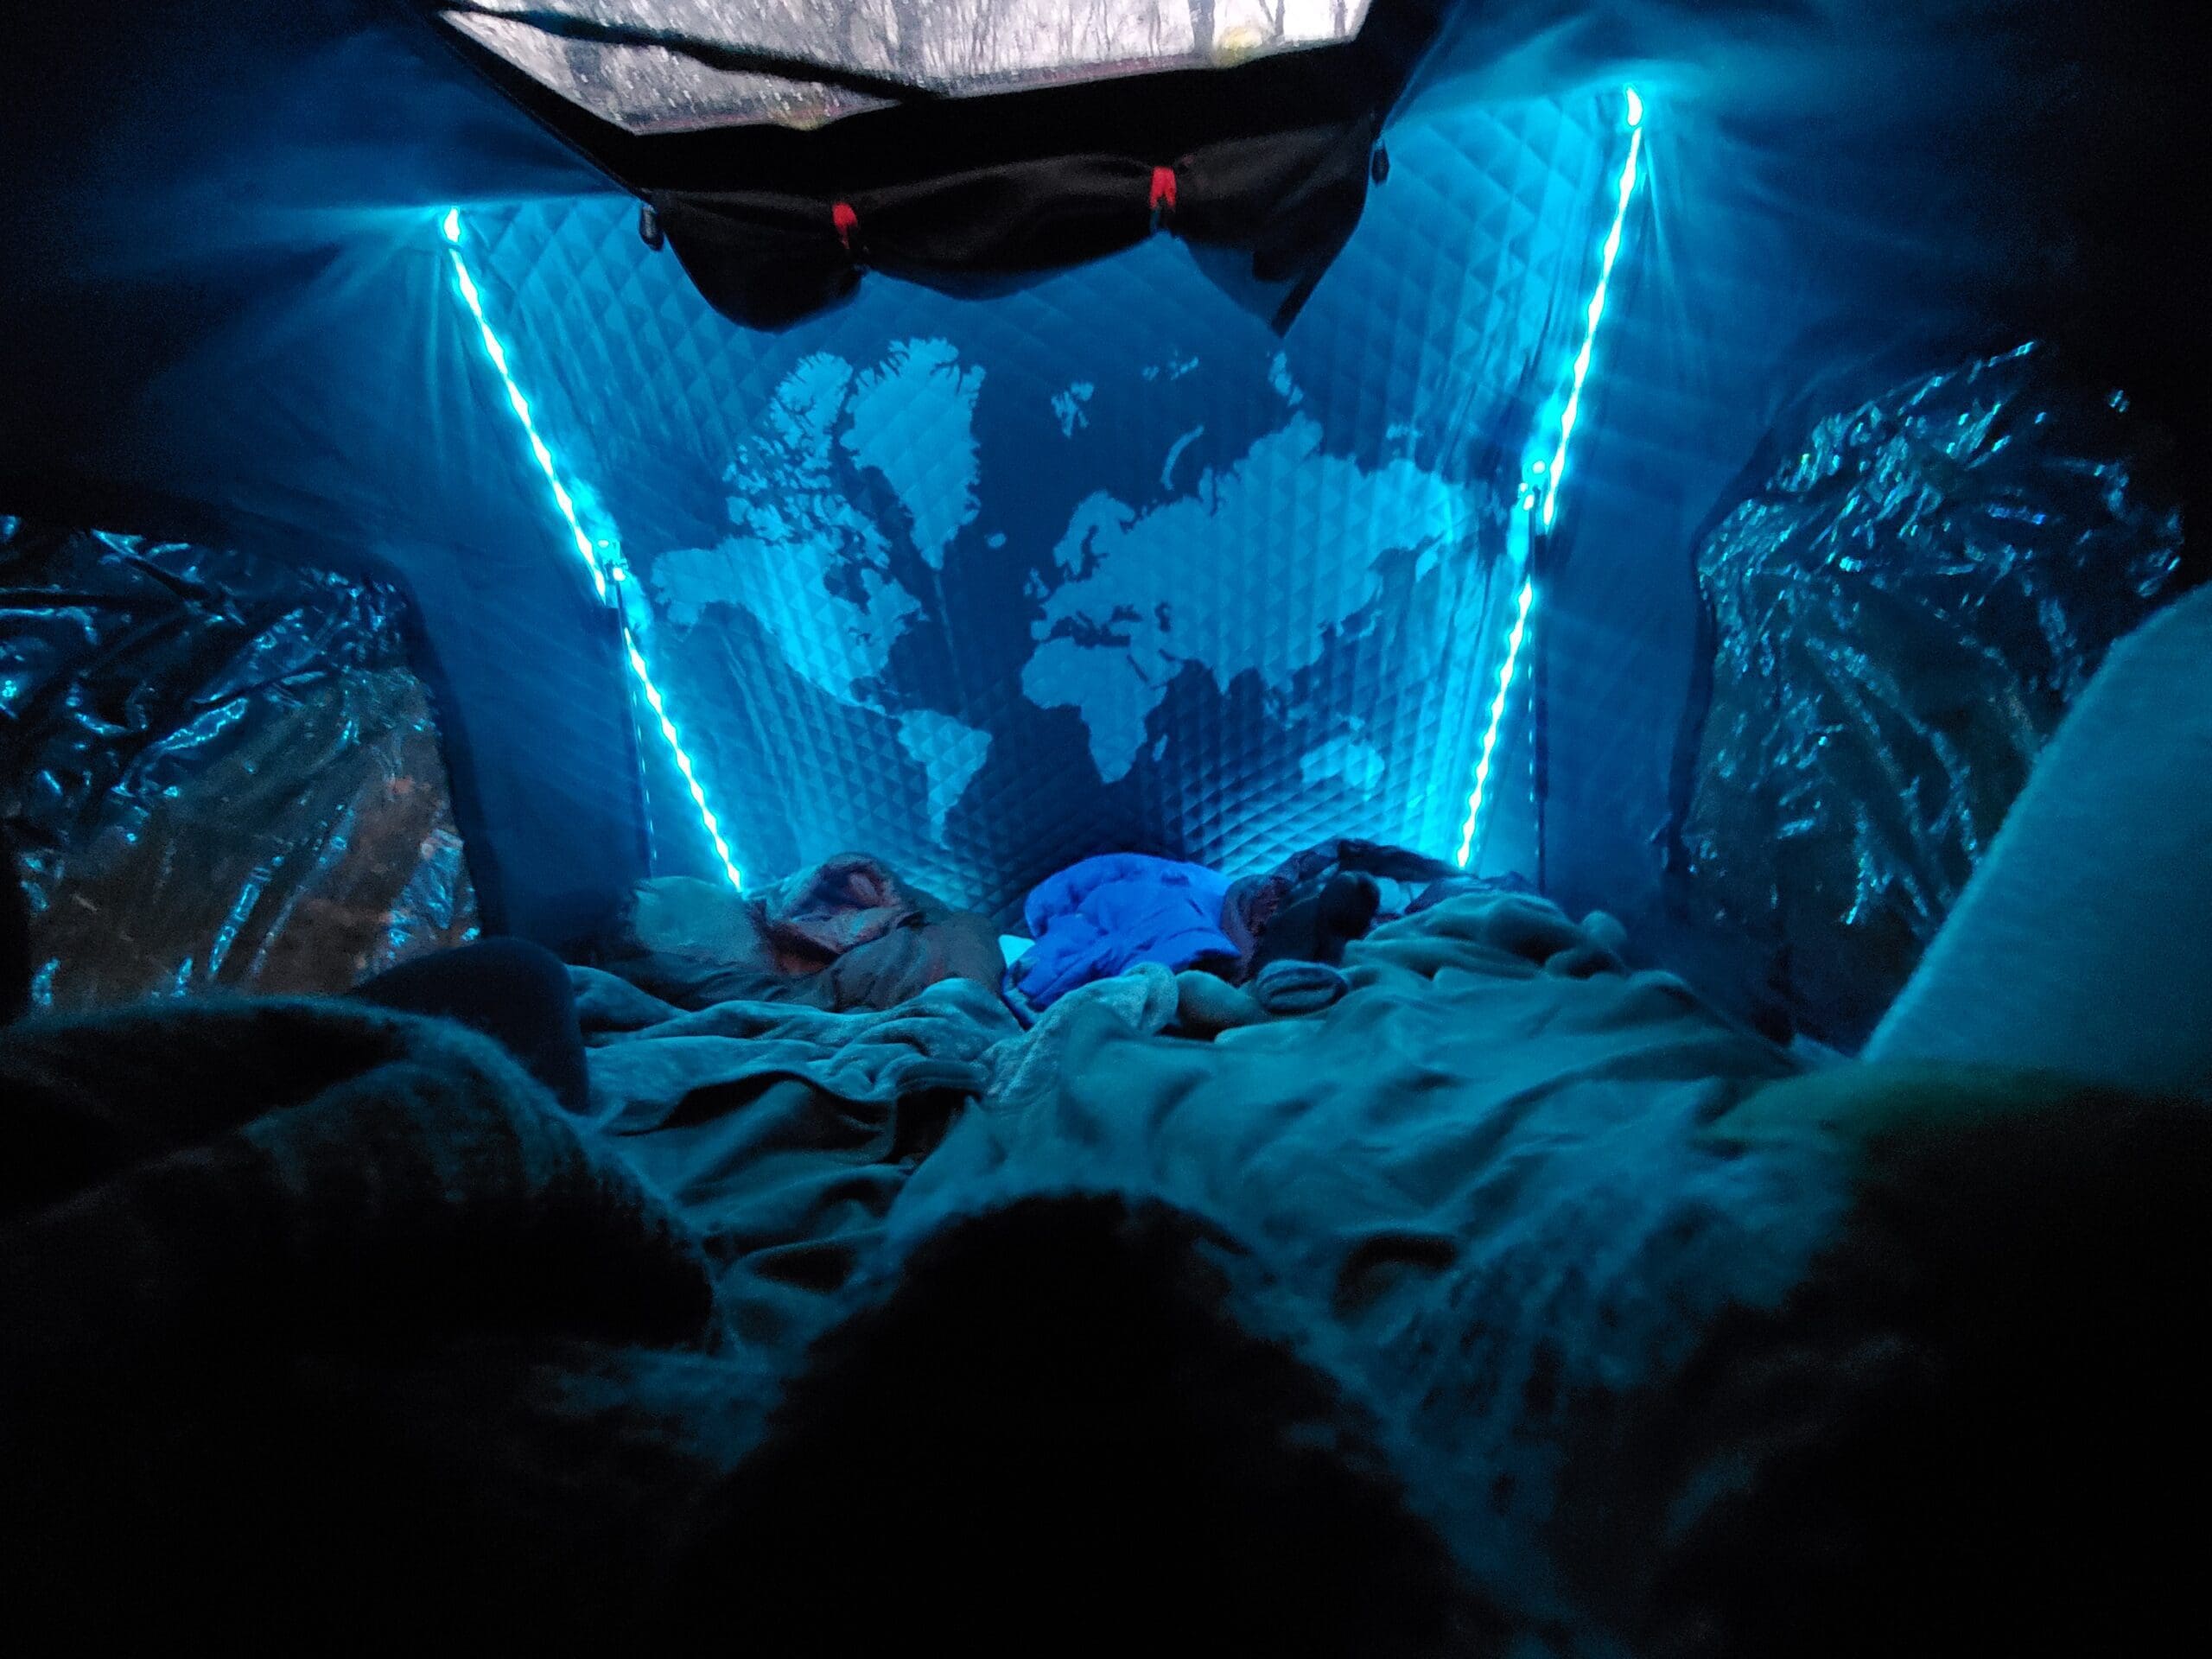
In the interior space, the back of the tent has a pretty striking world map. While not necessary, I appreciate the interior design elements. It marks the attention to detail iKamper has in their products.
It also provides ample conversational fodder for discussing next adventures.
The iKamper comes with a stock mattress. I’ve always thought it provided a very comfortable night’s sleep. Conversely, some people like to replace the stock mattress with the REI Exped mattress. They had some complaints about mattress thickness.
The newest 3.0 version has an updated thick mattress that people are raving about. The thicker mattress pad is great. When combined with the different shape of the roof, you still have plenty of space for storage. And you get max cushion for comfort.
The tension poles that assist in opening the iKamper hold it open very well. In high wind situations, iKamper provides clamps to place on the tension poles in heavy winds. They ensure the tent doesn’t close down on you.
Fortunately, I have not needed to use the clamps yet, but I do appreciate the thoughtfulness. I am not interested in getting sandwiched…
The hardshell roof provides a nice element of security when traveling solo. The side windows and skylights of the interior have several layers:
- A see-through plastic clear vinyl layer
- A screen that allows wind through
- A waterproof fabric layer. This also completely blocks out the sun – and the eyes of any nearby campers while you’re changing. Again, great for solo travel.
Underneath the windows on either side of the tent are storage pockets. These provide extra space for storing phones, water bottle or battery packs.
I especially like the skylight! It has all the layers above for rain but I like to sleep with it open. I can star gaze all night or quickly close it up if the weather (or mosquito situation) changes.

Exterior of the iKamper RTT:
Shell/Ladder:
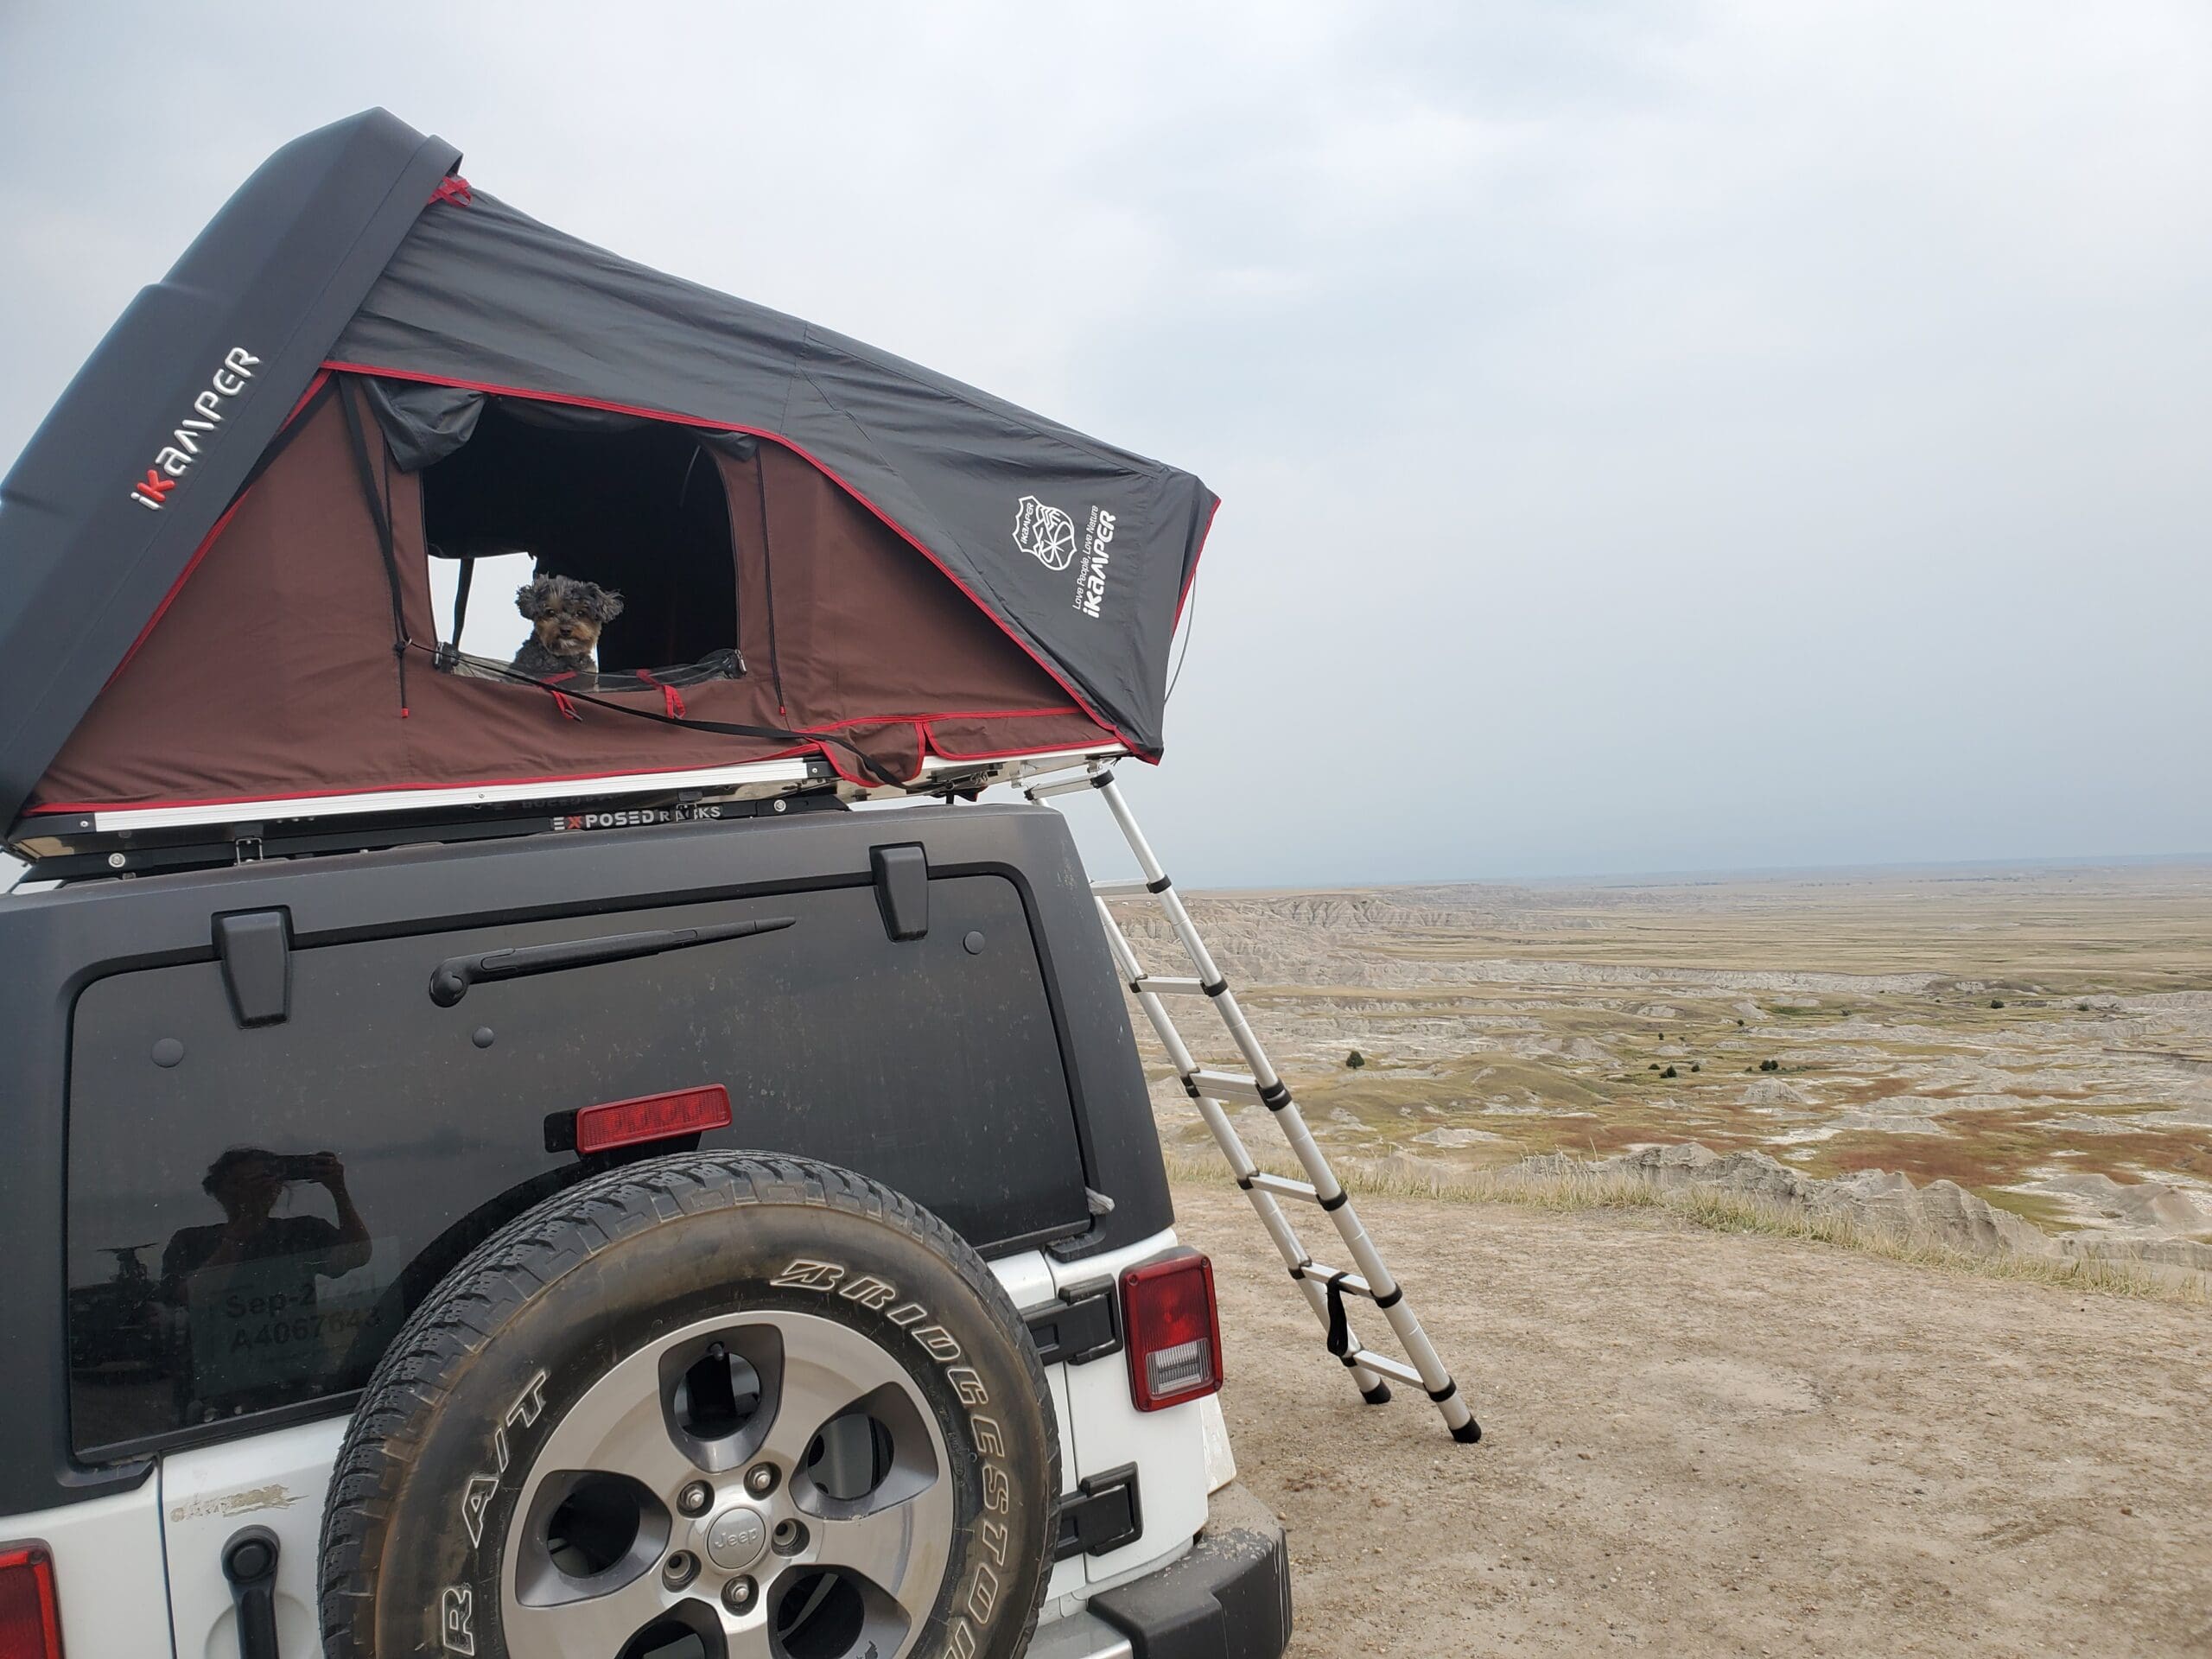
The exterior hardtop of the iKamper comes in two colors: Black Shell, and Rocky Black Shell. The Black Shell is shiny and looks good. BUT tree branches, gravel, and dust will scratch it over time. The rocky black shell is a rhino-lined material and is pretty indestructible.
I’ve had mine for a couple years now and it still looks new. The Rocky Black is an additional $280 USD for the iKamper Mini and an additional $300 USD for the larger iKamper 3.0.
The telescopic ladder of the iKamper is great. It’s easy to set up and simple to climb.
Exterior Fabric:
The exterior fabric is a water resistant, thick, gsm poly-cotton canvas. On the newest iKamper it is a gorgeous charcoal gray.
Personally, I think this is a marked improvement over the earthy brown and red concept of the original design. But really, the outdoors is far more about functionality and reliability than aesthetic. Either color works wonderfully in that regard.
The rainfly is 100% waterproof and works wonderfully. The zipper system is also waterproof which keeps rain out. Getting dry and staying dry is crucial to survival in outdoor situations.
I have been in all sorts of rainstorms and snow storms with my iKamper and have stayed completely warm and dry in my tent the entire time.
Set-Up of the iKamper Rooftop Tent
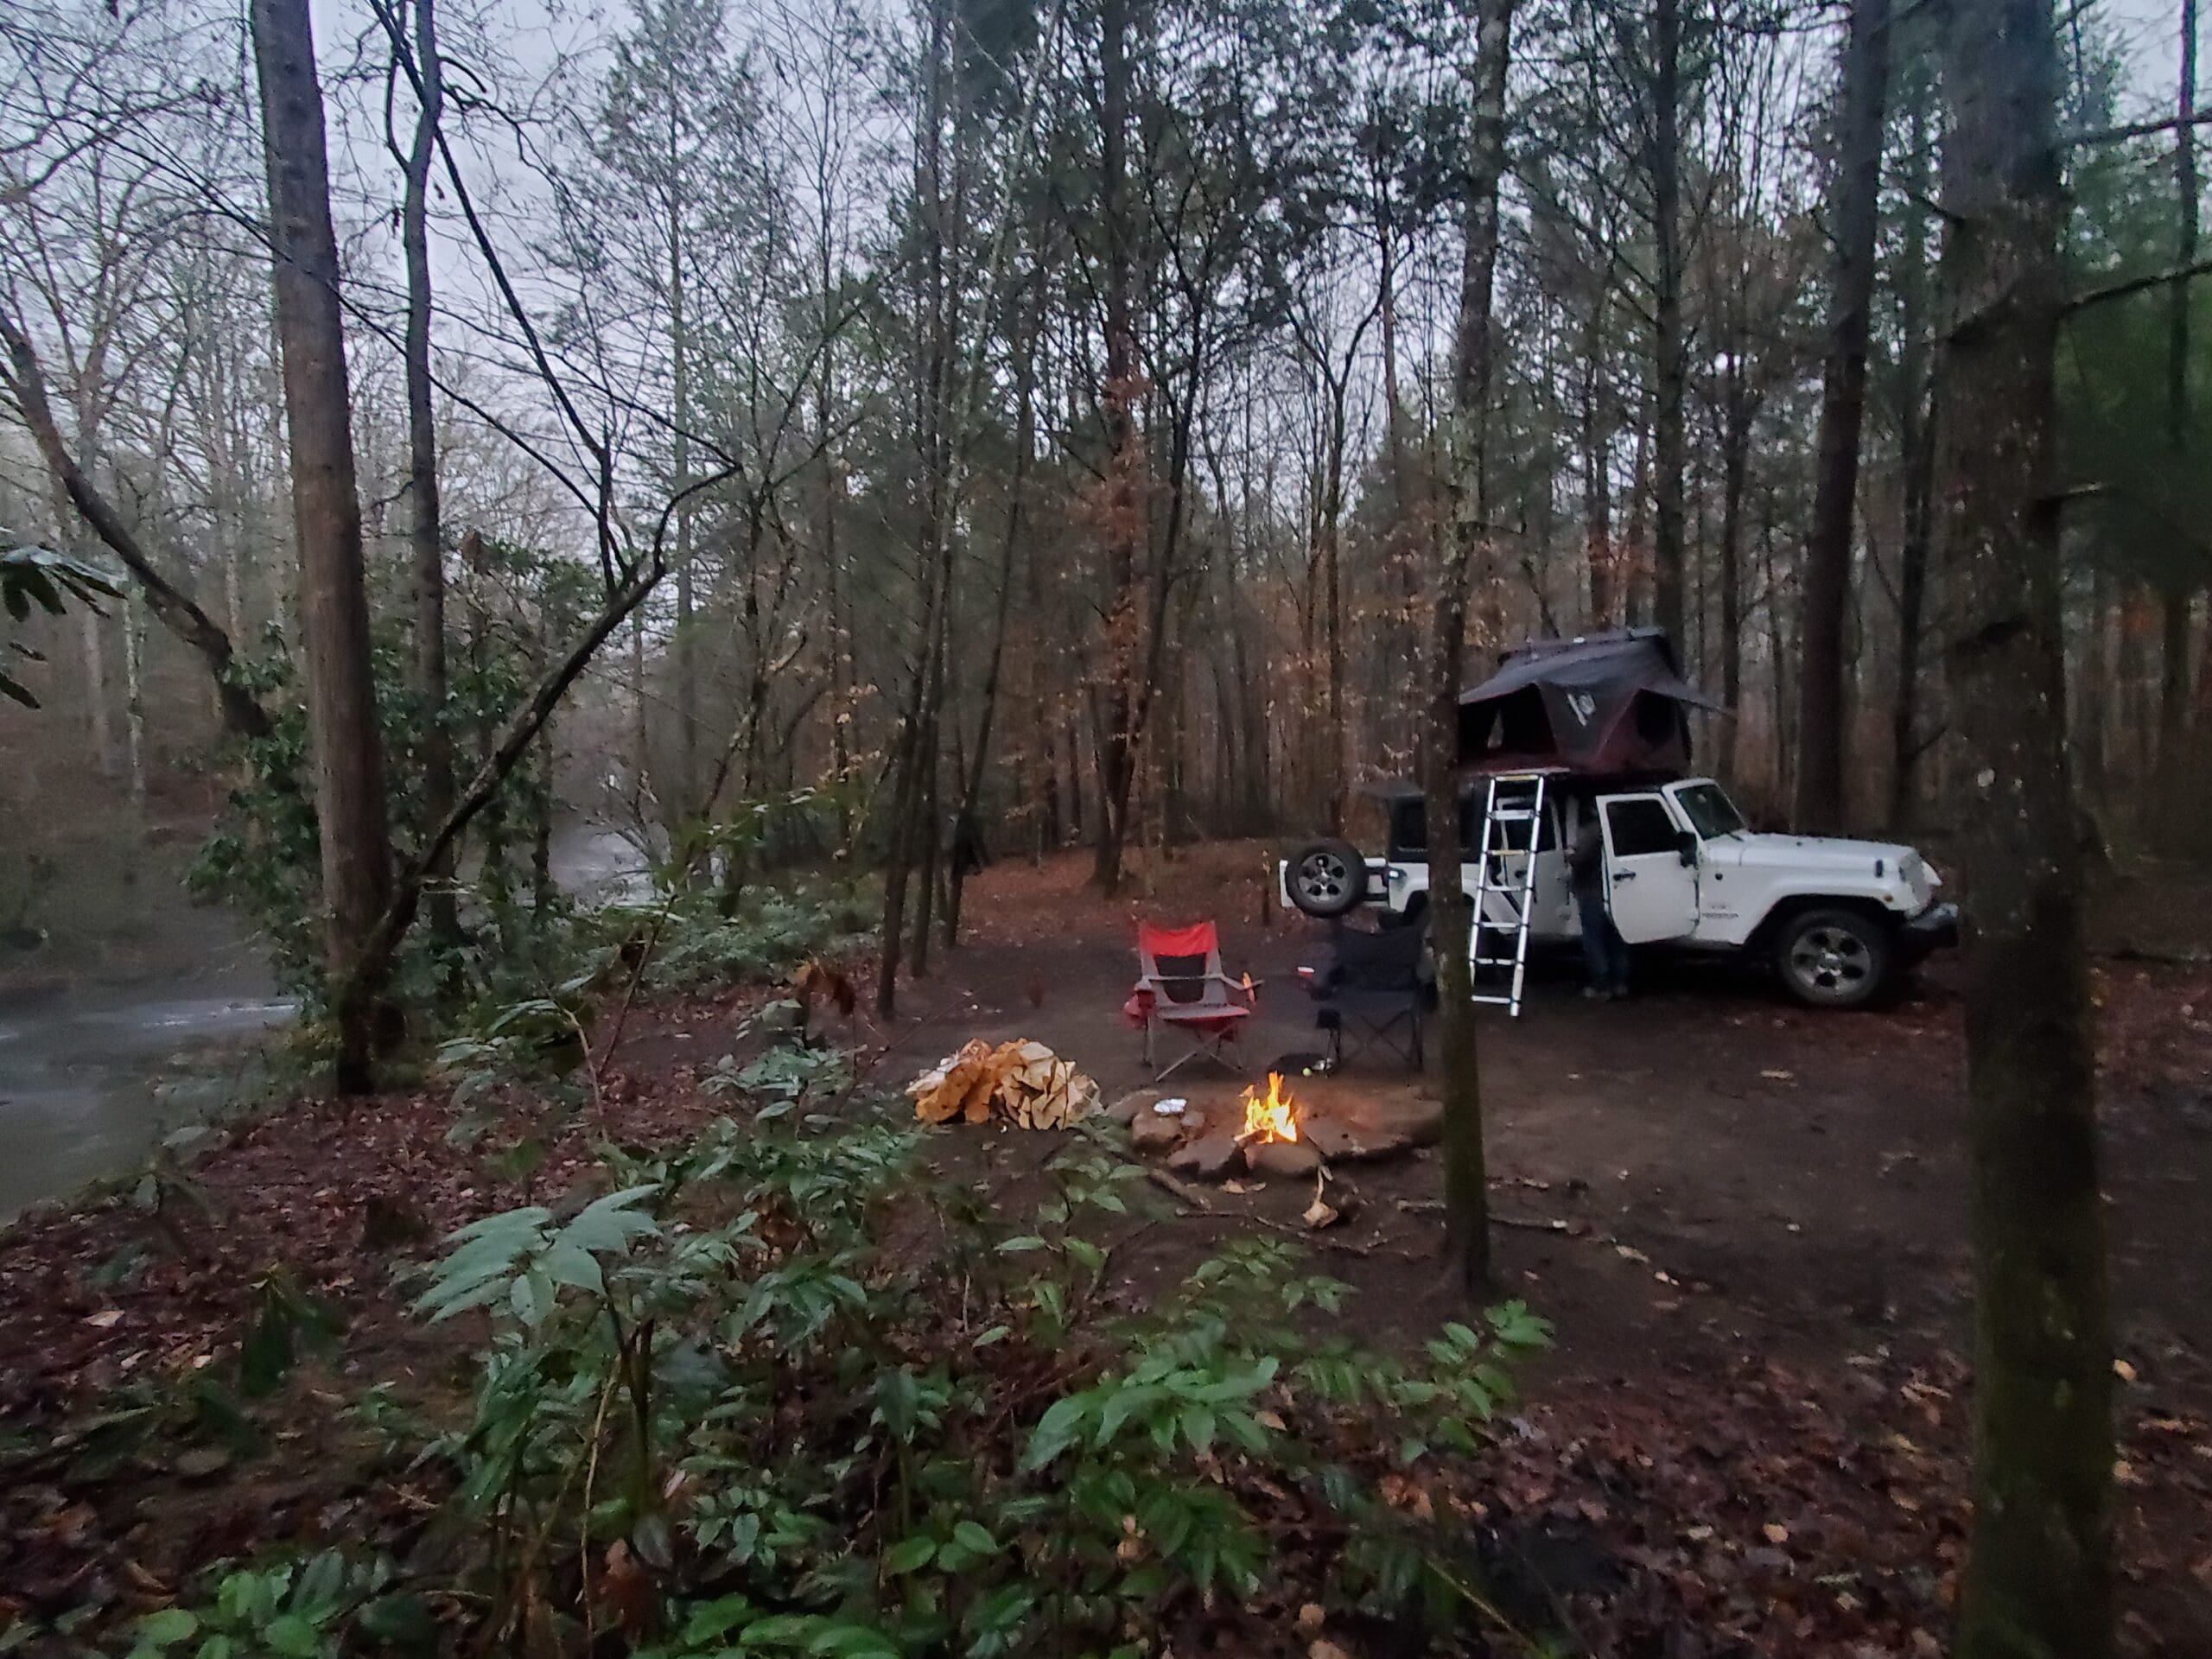
The iKamper sets up in about one minute. It is great for road trips. I drove across the United States – from Washington State to Washington D.C.- with my iKamper, without any hotels. For the most part, I stayed in National Forests and National Parks, often arriving late at night – exhausted – after a day of driving. The easy setup of the iKamper was a great feature.
Within 60 seconds, I pulled the telescoping ladder onto the passenger side of the car. The iKamper was now open and set-up. In another minute I laid out my sleeping bag and pillow. A few minutes later, I was relaxing next to a campfire with a small glass of bourbon.
The ability to set-up the tent quickly, and break it down quickly, was a huge selling point for me. It is something that makes this a fantastic rooftop tent.
We’ve all arrived to campgrounds in the middle of the night set up a ground tent with a lantern or the headlights of our car. Compared to a ground tent, this simple one-minute setup feels luxurious.
Take-Down of the IKamper Rooftop Tent:
Take-down is fast – although not quite as fast as set-up. Initially it took me about 5 minutes to take the tent down. Now that I am well practiced, it takes closer to 3 minutes.
Why the additional time? I think it predominantly comes down to one thing. The fabric sometimes gets caught when the tent is about 2 inches from closing. It’s not a big deal. You just need to step up on the tire, tuck it up inside the tent shell so it doesn’t get caught, and close it the final few inches. If you have a smaller car, you wouldn’t even need to step on the tire.
If I know I won’t be using the tent for a while, I’ll brush any dirt off the ladder. I don’t know if you can put the rooftop tent away wet but I would not. If I have to break camp when it is raining, I always make sure to open it up at the next available sunny day. If we have days of rain, I take it into a large covered parking area to wipe off the rain.
I would do this with any gear I have though. Mildew and I don’t get along.
Accessories for the iKamper Rooftop Tent:
Annex and Awnings
iKamper is very good when it comes to accessories and they’re always coming out with new things. Some of the accessories currently available include awnings and annex room. These are rooms attached to the iKamper that give you a huge interior, or covered, space.
While these add time to the set-up of the tent, if you are stationary for several days, they are nice. It’s great to have an area to relax out of the sun/rain.
Shoe Storage
I’ve already mentioned I got a free shoe storage rack from iKamper due to a delay in shipping. I like it for keeping shoes out of the tent and keeping your shoes off the ground so critters don’t get in them. It’s not a game changer, but it’s a nice to have.
Stair Attachment
One of the accessories I am most interested in getting is the iKamper stair attachment. While I have no problem scrambling up and down the ladder into my iKamper, my dog needs to be lifted up and down each morning and evening. I’d be great to have a stair attachment to the ladder so he could climb up each night by himself.
Winter Insulation Lining
I have a few accessories for my iKamper. The first is the winter insulation lining. I don’t use it very often because it takes a little time to set-up or take down the next day and you don’t have as much space. However, if it’s positively glacial outside, I’ll set it up. At that point I think it is a good idea to use the winter liner. It works by creating an additional layer of air insulation between you and the outer layer of the canvas panel. Your body heat warms up the interior and voila! Toasty!
With the lining inside, I am more than comfortable in below freezing temperatures. While the lining makes the interior smaller, there is still enough room to move about the tent or play a game. You also still have the same easy access to the outside and access to all the canopy windows.
Outer Storage Shelf
Another accessory that looks quite nice is the outer storage shelf. It is made of the same canvas tent fabric as the exterior of the tent. It acts as outside storage for toiletries, soap, and anything else you can think of. Organization is key and this helps in that regard.
Customer Service – iKamper Review:
I have only had great experiences with iKamper customer service. I had a shipping issue upon ordering the iKamper. It was not delivered when I had hoped and I was moving across the country the following day. Obviously, I contacted iKamper immediately.
Upon hearing the situation, they overnighted the tent at no additional cost to me. They even threw in a free shoe rack accessory as an apology for the delay. The company is friendly, accessible, and committed to making great camping products.
Pro-Tips for the iKamper Rooftop Tent:
The iKamper is DARK at night, and occasionally during the day if the blackout curtains are closed. You can add some light to improve the experience.
Many iKamper customers, including myself, purchased some sticky LED light strips. to place on the interior for lighting at night. It’s great for playing card games in the evening and not hitting your head on a dangling lantern.
While I have not done this, some people place sticky carpeting in the bottom of the iKamper. They swear that it helps with condensation and makes the entire space more comfortable. I avoided it thus far because carpet always seems challenging to clean while camping.. It does look cozy though! Besides, anything that makes the iKamper a more comfortable place to sleep can only be a good thing!
Potential Drawbacks – iKamper Review:
It’s hard to come up with things I don’t love about the iKamper but here are a few drawbacks:
Price:
I think the main drawback is the price range. The four-person Rocky Shell iKamper 3.0 comes in at a whopping $4,499 USD. The regular Black Shell is $4,199 USD. The two-person iKamper Mini Rocky Shell is $3,979 USD and the regular Black Shell is $3,699. If you add this onto an annex costing $880 USD, the bill adds up quickly. Despite the price, iKamper appears to be doing very well. I attribute this to their laser like focus on quality and customer service.
Solar Panels:
The next drawback is solar panels. The curvature of the top of the tent, and a center “mohawk” assists with aerodynamics, but it’s challenging to mount a solar panel like a Goal Zero. The only thing I’ve been able to find that’s been designed for the iKamper is a small third-party solar panel called a Solar Hawk.
Some people have had some luck with other flexible solar panels. But when other hard shell roof top tents have brackets for mounting a Goal Zero, it’s a negative for iKamper. I’d like iKamper to consider adding some brackets the 4.0 design. Otherwise, the top of the tent just seems a bit underutilized.
The other option here if you are considering a mini, is to check out the new iKamper Blue Dot Voyager Duo. It’s a do-it-yourself rooftop tent that you can put a solar panel on. It could be a great choice for DIYers who want a fully customizable hard-shell tent.
Storage
One of the biggest complaints about the 2.0 version was that it was hard to close the tent with your gear inside of it. Unpacking and repacking it added an extra step if you were traveling each day. iKamper listened to the issues and the 3.0 version is more spacious on the interior for gear storage. I’ve no doubt that with each new version, iKamper will continue to get better.
Other Alternatives:
A lot of people looking at the iKamper 3.0 also consider the Roofnest Condor XL. While I haven’t personally used the Roofnest Condor, it seems like it could be the best option for a young family looking for a RTT at a slightly more affordable price point.
Conclusion – iKamper Review
With its unique design, the iKamper rooftop tent is a great addition to any camping setup. It’s one of the best, if not the best rooftop tent around. The durable construction, comfortable mattress and built-in ladder make it easy to use.
Whether you’re camping in the mountains, by the beach, or even at a rest stop on the Jersey turnpike (only once, I swear), you should consider the iKamper. I can definitely recommend it if you’re searching for a high quality, easy to use, rooftop tent.
Please note, I am not an affiliate of iKamper – I just really like my rooftop tent. Below is their website:


If you love the idea of the outdoors and adventuring – perhaps renting an overlanding vehicle in Iceland is just what the doctor ordered. In addition to the stunning scenery, you’ve got to check out the food! 25 Greatest Icelandic Dishes You’ll Want to Feast On. The Fermented Shark is a real…treat.
JOIN OUR EMAIL LIST FOR THE BEST TRAVEL TIPS AND LATEST GEAR ESSENTIAL REVIEWS!